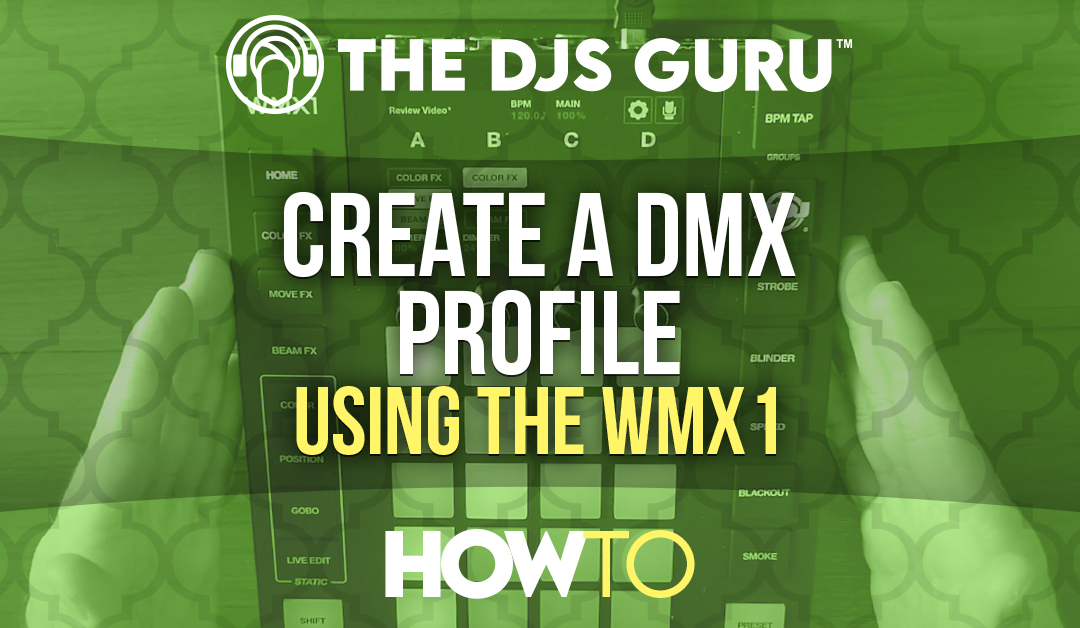
If you haven’t seen our ADJ WMX1 DMX controller video review yet, run, don’t walk, to give that a watch. After going over the basics of the controller, however, we wanted to create a more in-depth look at how to create a fixture profile from scratch. Thankfully, the WMX1 makes this process super easy. Today, we’ll give a quick rundown on creating custom WMX1 profiles. We’ll go from top to bottom – if you’ve got the WMX1 already, grab your controller and follow along.
SUBSCRIBE AND FOLLOW THE DJS GURU EVERYWHERE FOR MORE DJ ADVICE AND TIPS
Remember to Check the Library
First things first; you may not have to create a profile at all. ADJ has supplied a LOT of fixtures already within the WMX1 as it ships. If you can’t find your light in the library, don’t despair. There are thousands more profiles available online at the Wolfmix website. Simply download the Wolfmix software, connect your controller to your computer, and you can transfer these profiles to the unit in a matter of seconds. If you can’t find your light, then you’re in the right place.
Navigating the WMX1
 To start off, you’ll need to have your light’s user manual handy. Paper or digital, navigate to the section that covers the DMX control channels. You’ll find a table showing a) how many channels you can control in the light and b) what DMX values translate to different settings. Each light can have multiple “channel modes,” which dictate just how much customizability you have over the light. For example, a simple par can with a 3-channel mode will give you control over the intensity of the red, green, and blue LED diodes. A moving head, on the other hand, can have 10, 12, 15, or more individual channels of control for things like pan, tilt, dimmer, strobe, color wheel, and gobos.
To begin programming with the WMX1, navigate to the home screen of the controller. Tap the fixture button (small square with a moving head on it) in the top right corner. This takes you to the fixture setup screen. To add a fixture, next select the “add fixture” button (another small square in the top right corner with a plus sign). Lastly, instead of scrolling to select a fixture from the built in list, you’ll choose the “new profile” button at the top of the screen (a moving head within a piece of paper).
The Fixture Builder
Following these steps will take you to the fixture builder. At the bottom of the screen are a few important settings. The test address allows you plug in a light and visually see your settings as you create them. Simply set your light to the DMX channel selected and it will react as you build the profile. The beams setting is also crucial. Because the WMX1 can create pixel-mapping effects, you need to tell the controller how many light beams your light has. An LED bar with 14 individual diodes, for example, has 14 beams. A moving head, on the other hand, only has a single light output. Lastly, you can use the farthest right encoder knob to scroll between different channel pages if your light has more than 20 channels.
SUBSCRIBE AND FOLLOW THE DJS GURU EVERYWHERE FOR MORE DJ ADVICE AND TIPS
Creating Custom WMX1 Profiles – Getting Started
 To begin programming, select the first question mark on the screen (or first pad in the top left corner). This is channel one, and selecting a channel will take you to the channel type screen. Here, you will consult your manual and choose the correct channel type based on your specific light. In our example video, my Eliminator Stealth Spot has the pan control on channel 1. After choosing a channel type, a new screen will open. Here, you can further define the functionality of the channel. Pan control, for example, can have a minimum and maximum value defined.
The rest of the programming follows much of the same pattern. In our demo video, channel number 2 for our moving heads controls fine pan. After selecting the second pad and again choosing pan, we now the option of toggling on a button labeled “micro.” This allows fine pan control. After programming our movement channels, we can program the moving head’s color wheel. This is a little more in-depth than the movement channels.
Fine Tuning
After selecting a pad and choosing color wheel, the fixture builder page opens once again. This time, however, we are presented with an array of colored circles representing options on the wheel. To program the color wheel channel, simply select a color and rotate the encoder knob to a value in the range of that color per the light’s manual. For example, if channel 5 is the color wheel and a value between 4 and 14 selects red, I would rotate my encoder to a value between 4 and 14. After this, you simply click the encoder to lock in the value. Repeat the process for the rest of the colors. You can also set values for the slowest and fastest gobo wheel scroll speeds on this page if your fixture has the option.
Rinse and Repeat
The steps are the same for every channel within the fixture. Gobos, dimmer, prism, zoom, and shutter function much the same. Within each channel, type is parameters for things like an open shutter, closed, strobe speed, and more. It’s worth noting that the WMX1 is really meant to control lights of the par, bar, wash, and moving head variety. Channels for functions like built-in programs and movement macros are not used by the WMX1. For channels that don’t have a type represented in the controller, simply choose the “other” type. These channels will not be used by the controller and won’t interfere with the effects generators.
SUBSCRIBE AND FOLLOW THE DJS GURU EVERYWHERE FOR MORE DJ ADVICE AND TIPS
Creating Custom WMX1 Profiles – Wrapping Up
Once you’ve completed programming each of the channels, it’s time to name the profile. The name button is found at the top to the left of the “done” button. A keyboard will appear for typing in the name of your profile. There are not many character spaces available, so you may have to abbreviate. After naming the fixture, simply hit the “done” button followed by “save.” That’s it, you’ve created a profile!